A sprinkler valve that’s stuck open, stuck closed, or leaking at the fitting is one of the more fixable irrigation problems a homeowner can tackle without a professional. The parts are inexpensive and the repair is mostly mechanical. The part that trips people up is diagnosing which failure you actually have before you start taking things apart.
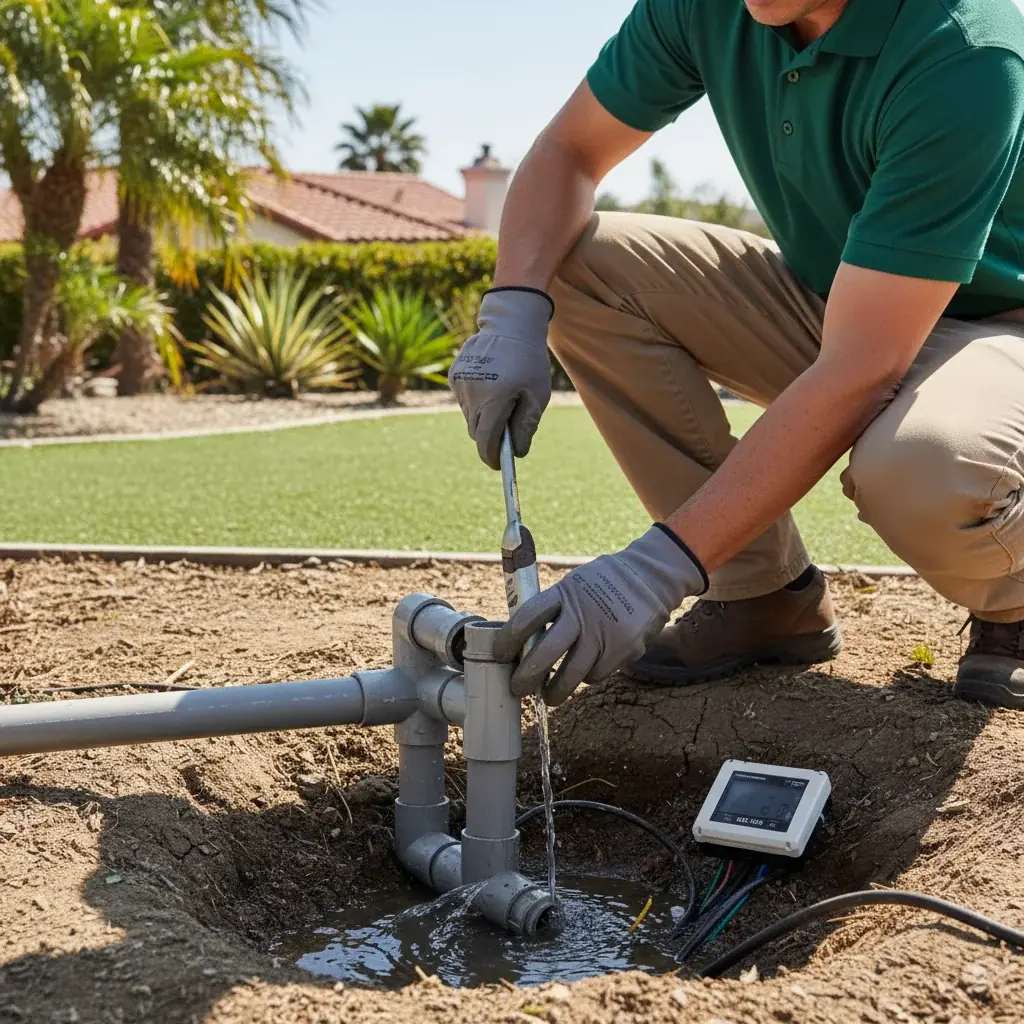
Diagnosing which valve problem you have
A zone that won’t turn on at all usually points to the solenoid, the small electrical component on top of the valve that receives the signal from your controller and lifts the internal diaphragm to let water through. A solenoid that’s failed electrically won’t click or hum when the zone is activated from the controller.
A zone that won’t turn off, running continuously even when the controller isn’t calling for it, usually means debris is caught under the diaphragm, holding it open, or the diaphragm itself has torn or degraded and can no longer seal properly.
Water bubbling up from the valve box itself, rather than coming out at the sprinkler heads, points to a cracked fitting or a failed seal at one of the pipe connections into or out of the valve, not the valve’s internal mechanism at all.
Knowing which of these three you’re dealing with before opening anything up saves real time, since the fix and the parts needed are different for each.
Fixing a stuck-open valve (debris or torn diaphragm)
Turn off the water supply to that zone at the main shutoff or the zone’s isolation valve if you have one. Remove the valve’s bonnet, the top cover, which is usually held on by screws around the perimeter. Lift out the diaphragm assembly and inspect it for debris caught in the diaphragm seat or visible tears or wear in the rubber diaphragm itself.
Rinse away any debris and reseat the diaphragm carefully, making sure it sits flush before replacing the bonnet. If the diaphragm itself is torn or visibly worn, replace it. Most common valve brands (Hunter, Rain Bird, Irritrol) sell diaphragm kits inexpensively, and matching your exact valve model matters since diaphragms aren’t universal across brands.
Fixing a solenoid that isn’t triggering
Test the solenoid by disconnecting the two wires and touching them briefly to a 9-volt battery. If you hear a click, the solenoid itself is likely fine and the problem is upstream, at the controller, the wire run between controller and valve, or a wire connection that’s corroded or come loose in the valve box. If there’s no click, the solenoid itself has failed and needs replacement, which is a straightforward unscrew-and-swap part on most valve brands.
Wire connections inside a valve box that sits in wet soil corrode over time, especially with San Diego’s mineral-heavy water and soil. Wire nuts alone aren’t enough protection long-term. Waterproof wire connectors (silicone gel-filled) are worth the small extra cost when you’re already in the valve box making a repair.
When it’s a fitting leak, not the valve itself
If water is bubbling up around the valve rather than a dry valve just not turning on or off correctly, the valve itself may be fine and the actual problem is a cracked PVC fitting or a joint that’s failed, often from ground movement or a fitting that was overtightened during the original install. This requires cutting out and replacing the affected section of pipe with new fittings and solvent-welded PVC cement, which is more involved than a diaphragm or solenoid swap and where soil conditions around the valve box (San Diego’s expansive clay shifts fittings over time) can make the repair harder than it looks on a tutorial video.
DIY parts versus a professional visit
Parts prices change by brand and model. A professional visit includes diagnosis of the valve, wiring, and sometimes the controller. Compare a parts receipt with a written diagnostic fee. Our sprinkler repair cost guide lists the bid fields, not a rate card.
Treat the solenoid, diaphragm, and fitting checks above as common patterns, not a guaranteed diagnosis. Manufacturer instructions control disassembly. If you are not sure which valve shuts the zone, stop and call a contractor rather than forcing unlabeled hardware.
When it’s not worth doing yourself
If you’ve swapped the diaphragm and solenoid and the zone still isn’t behaving correctly, the problem may be at the controller or in the wire run itself, which requires tracing wiring that isn’t a simple valve-box fix. If the valve box is flooded or you’re dealing with a mainline break rather than a single zone valve, water pressure and volume make this a bigger job than a weekend repair. And if this is one of several valves showing problems at once, it’s often more efficient to have a full system diagnostic rather than fixing valves one at a time as they fail.
Independent irrigation repair contractors can test every zone. Bloom Pro SD makes the referral. You contract with that professional.
Frequently asked questions
How do I know if my sprinkler valve needs a new diaphragm or a new solenoid? A zone that won’t turn off usually means diaphragm debris or damage. A zone that won’t turn on at all, with no click or hum from the valve when activated, usually points to the solenoid. Testing the solenoid with a 9-volt battery quickly rules it in or out.
Can I replace a sprinkler valve diaphragm myself? Yes, for most standard residential valves (Hunter, Rain Bird, Irritrol) this is a straightforward repair. Turn off water to the zone, remove the bonnet, inspect and clean or replace the diaphragm, and reassemble. Matching your exact valve model when buying replacement parts matters.
Why does water bubble up around my valve box instead of coming out the sprinklers? This usually points to a cracked or failed pipe fitting near the valve, not the valve’s internal mechanism. It requires cutting out and replacing the damaged section of pipe, which is more involved than a diaphragm or solenoid swap.
Is it worth fixing a sprinkler valve myself? For a straightforward diaphragm or solenoid issue on one valve, yes, it’s a reasonable DIY repair with inexpensive parts. If multiple valves are having problems, or you’ve replaced the obvious parts and the issue persists, a full system diagnostic usually finds the real cause faster.
When to call us
If your valve repair isn’t fixing the problem, or you’d rather have a full system check than guess valve by valve, call us at (760) 400-6355 to get matched. The independent professional diagnoses the system and quotes the work.